The new XCOM 2 expansion is fantastic, expanding most areas of the game and providing loads more ways to play it. It’s still XCOM though and if you follow the tips for Legendary here you won’t go far wrong. That said, the new toys you’re given provides even more cool ways to pummel aliens, so why wouldn’t you use them?
And the Chosen themselves? They can interfere with your awesome plans and ruin your day.
So.
CONSTANT VIGILANCE.
And the tips below 🙂
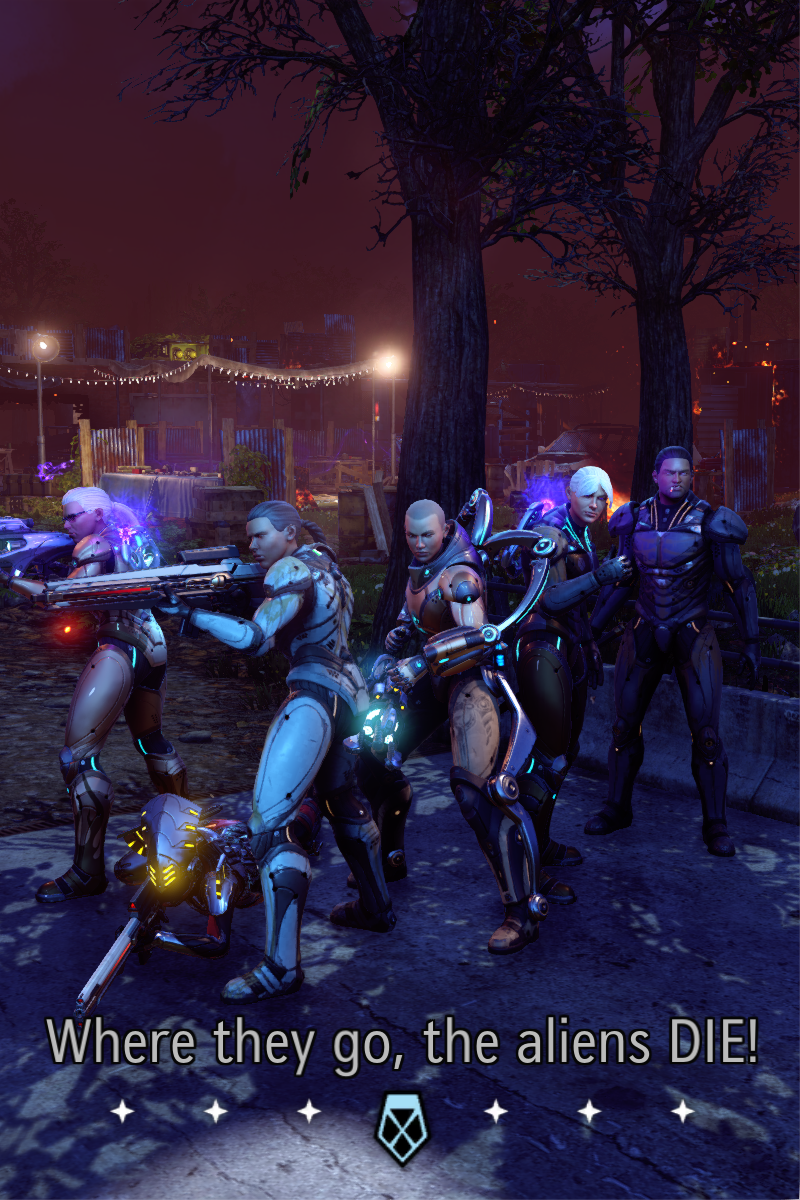
The Chosen
Let’s start with them, as they’re the headlining band. The three of them each have unique abilities and each have one third of the world under their control. If you do any missions in their territory, they can hop in (randomly) and try and ruin your day.
Though they can cause quite a bit of damage, their aim is to capture soldiers to build up knowledge of where your base is. This allows them to stage a base assault and capture you (the player). While this is nominally to do with helping their bosses it’s probably more to ensure a captive audience to their moustache-twiddling monologues (which even Bradford comments as being excessive).

They’re aren’t many specific tricks to thwarting them; you just want to deal with them away from the other Advent forces. The Hunter and Warlock will try and stay at range and their abilities are not insurmountable (zoning areas out and summoning walking bombs, respectively). They get more dangerous as you get close but they’ll stay away generally and you can pick the time you want to engage.
The Assassin is more troublesome as she’ll come straight at you, can’t miss and will stun several characters at once. Because she does come to you though you can clear the initial area out and wait for her. She does hit-and-run tactics so you have to be very careful about triggering more pods while chasing her. Spreading out and/or having abilities to see cloaked units helps loads though.

The key thing generally is to utilise their weaknesses. These are randomised, so if you’re going to an area where the Warlock hangs out and he’s weak to explosives and Templars, make sure you bring the wannabe Junk-Rats and Psi-Jedis.
Using the Resistance Ring you can work out their base location to kill each of them for good but don’t go straight away. You want to work out their locations ASAP (as it unlocks more mission slots at the Ring) but then don’t go to kill them early. First, they’re quite hard with basic equipment due to the nature of the special base mission (killing stuff fast is key). Second, each time you kill them you get bonus XCOM Ability points and if you’re doubling them (which you should) that nets you a sweet 10 points a time.
So; wait to the last possible moment before taking them out.
New Buildings
The AWC is gone and it’s benefits are spread out among the new additions. The key new building is the Resistance Ring. This allows you to send small groups of troops out on “side-missions” between the main XCOM tactical deployments and are fantastic on several levels.
First, you get great strategic-level things. New resources, new faction slots, bonuses to research, new upgrades, Chosen base locations and (even better) reductions in the Avatar doom counter. Once you’ve got the Ring upgraded and few bonded troops, you never have to worry about the Doom clock again.
Second, great tactical benefits. Each participant in resistance missions gets XP but more importantly they can get bonus benefits too. Promotions, bonuses to stats and more mobility all make a huge difference. It makes it a lot easier to keep a deep bench and if you’re careful with the bonuses you can get some great super-soldiers. I stacked lots of +Mobility missions on my Reaper and she was a fantastic scout. The same applied to my main Ranger and with Run&Gun and Reaper he could clear the screen of hostiles.
Generally, you want to work on the missions that give you more resistance slots first. So missions to contact the other resistance factions and ones to track down the Chosen.
You always want to keep an engineer stationed in the Ring to reduce mission times.
The other new buildings can wait a bit. The Training Centre is brilliant, but you won’t have the AP to use it initially. The Infirmary is useful, but with care you won’t need the healing boost (you can always scan at the Templar HQ for a healing buff in a pinch) and if you rotate your troops you won’t need to remove negative perks either.
BUILDING Order
You still want the GTS first in order to get the 5th squad member ASAP and also to allow training of rookies as soldiers (which then allows them to go on Resistance Ring missions).
The Resistance Ring should follow. In my play-through I got the Resistance communications next followed by power (in the 3rd row, below). Proving ground and training centre came after that.

The second row, centre was originally a Workshop which helped me overcome a crippling lack of Engineers near the start. Later on I replaced it with a new power generator to give me enough juice for the last few buildings.
You could rush the lab or Psi-Ops if you wanted depending on your strategy and what you have on the map.
Resistance Orders
This allows you to tailor the game as you see fit but the double-AP bonus is really too good to miss. My choices near the end of the game were below. You really want to work on finding the Chosen base locations ASAP to unlock new slots for each resistance group.

Trial by Fire, Inside Knowledge and Information War were the key ones.
The Training Centre
If you get the faction order doubling AP gains early enough you can seriously power up your soldiers. The real gains come when you have the higher-tier skills unlocked, but starting off the best places to spend early points were on Specialists. They have some great abilities in both trees early on and having a couple of soldiers with both healing and hacking talents will really help out.
Next a few points into pistol-speccing your snipers makes Lost missions a lot easier.

I also heavily invested in my first Reaper as making her a superior scout removed a lot of the randomness of the missions. With an upgraded gun and the talent that made her remain in shadow on a killing blow I could get a lot of use out of her while scouting too.
Team Composition
Almost anything can work with a bit of planning though you want a range of different counter-measures if you’re missing someone; taking blue-screen rounds if you don’t have a specialist, for example.
You should rarely not have the option for particular classes though as with the addition of the fatigue mechanic you want a deep a roster as possible.

Also, try and get soldiers to bond that compliment each other. Your Reaper scout is always going to go well with a squad sight sniper so “encourage” them to bond. As well as all the tactical benefits, high-level bonds reduce the time required for resistance operations.
The new hero units are great, though hardly required. Just bring them along for fun, though a Reaper with Banish and an extended clip can make short work of Chosen or Alien Rulers.
As ever, if you can get them high-level PSI troops trivialise everything.
Strategic Map
WOTC provides many more options on the top-level map and randomises what you’re likely to see so there’s no real hard-and-fast rules. Some tips though;
- Engineers are even more valuable due to the extra stations they use in the new buildings.
- Keep working across the map, taking areas. While the Resistance Ring can reduce the pressure of the Avatar countdown, you don’t want to be wasting precious missions on keeping it in check.
- Get the locations of the Chosen strongholds early so you can unlock the areas they are in.
- Intel can fill many of the gaps you have in the Black Market, especially if you have the correct faction orders in place.